Forgetting All the Rules
Experimental Photograms with Kimberly Schneider
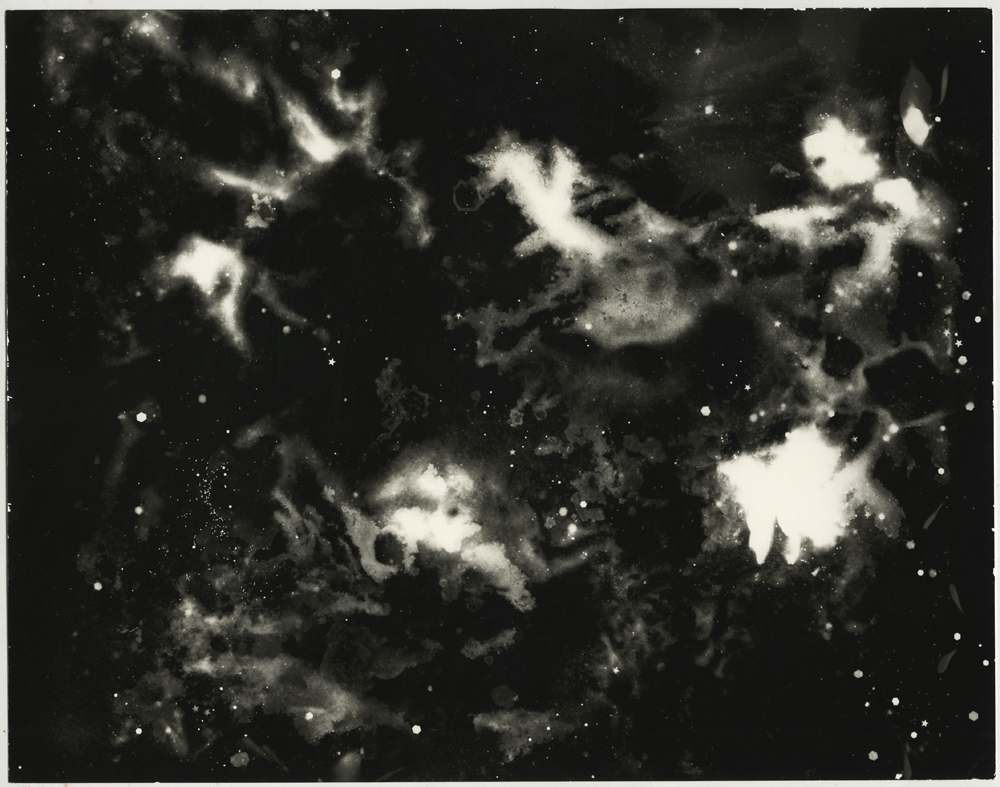
Nebula ©Kimberly Schneider
Course Description
The process of making strong/successful experimental photograms starts by learning to let go of control. When you combine traditional printing chemistry and paper(s) with alternate light sources and materials, there are (almost) no limits to what you can do or how you choose to work with your materials (outside of safety concerns) - once you gain a proper understanding of how they work and/or will respond to each other.
This class will introduce participants to a variety of methods for making unique gelatin silver prints, without the use of an enlarger; Students will work with various alternative light sources and materials, which can readily be found in their homes or purchased inexpensively (such as flashlights, candles, glitter, flowers, and leaves), as they are introduced to the art of “exposing by feel.” As they learn more about their materials, and gain more confidence with their exposures, they will learn to refine their processes, in a way that best suits their personal artwork.
While there is a considerable learning curve, this class is designed to help participants learn to embrace the freedom of experimental printing. By working in this unrestrained manner, they will learn to expose and print more intuitively, bring more expression into their work, find ways of tapping into internal inspiration, and will be exposed to new ways of looking at, as well as making, photographs. As the class progresses, students will learn new ways of working with their materials, in order to bring other elements, such as texture, emotion, and movement into their photograms.
Each week, we will address a new printing theme/loose topic, which will be assigned/emailed out in advance. We will print during class, and look over our photograms together.
**Previous wet/b&w printing experience is helpful but not required. All eager and adept learners are welcome. Experimentation is encouraged!
DIY Darkroom
- Please note that you do not need a darkroom at home to take this class. I am happy to advise those who wish to rig DIY DARKROOMS and need a bit of guidance (or more than a bit).
___________________________________________________________________________________
DIY Darkroom & MATERIALS LIST
PLEASE DISCUSS WITH ME BEFORE ORDERING YOUR MATERIALS.
(I am happy to create supply lists via Freestyle, as well as send you links to things Freestyle might not carry. Or make suggestions based on your specific space.)
- Light-tight room with space to print and running water (long hose will suffice for those printing in sheds or garages).
- B&W fiber paper (Glossy & Matte will produce different effects, both are effective; Slower papers work best for these processes, but you’re welcome to start on any fiber paper of your choosing).
- Suggestions: Foma papers - Fomatone MG 131 or 132, or Fomabrom; Ilford papers - I’d suggest sticking to the warmtone, as Ilford papers are not as slow, but the warmtone will be a little slower than the neutral tone. (Other papers are fine, but may be a little more challenging to work with).
- Traditional B&W developer, any kind. Stop Bath, Ilford Rapid Fix, etc.
- I would suggest getting a gallon size of stock solution for each of the necessary chemicals (that’s what you’ll find in the store/online); 500mL will go fast, but you’re also welcome to start with that and just replenish as needed.
- Several trays for processing big enough to fit your paper; you’ll want them large enough that the prints have room to move around (glass/pyrex baking dishes will work in a pinch).
- You will need separate trays for each chemical, as well as a slightly larger one, for your water bath/washing your prints afterwards.
- Gloves, tongs (3 pairs, 1 pair per chemical), chemical storage, 1000 mL graduates (you will need 3). Pencils for making notes on back of paper.
Alternate light sources & Materials
- I’d suggest starting with a flashlight or candle for your alt light source
- Suggestions for materials are the following (pick 2 to start with, we’ll add more later)
- Lace, flowers, plants, glitter, foil, saran wrap
Optional Supplies
- Distilled water, funnels (you can make due with tap water if need be)
- Blotter paper or blotter books - for drying your prints
- Makeshift safelight - we can discuss once you start working on your set-up (cheap red lights, that aren’t too bright will do in a pinch); this is so you can see what you’re doing, while you print. But be careful, you don't want too bright of a safelight in a small area or you could fog your paper.
 Kimberly Schneider